
Sedimentary Rock Identification Flow Chart
PRINT A SEDIMENTARY ROCK IDENTIFICATION FLOW CHART
Use this Sedimentary Rock ID Flow Chart for fun way to learn rock identification.� The link to download and print your free sedimentary rock identification flow chart is located at the top of this page.�
HOW TO USE�OUR IDENTIFICATION FLOW CHART
To use our Sedimentary Rock Identification Flow Chart, it will be easiest if you print out your own copy first.� The flow chart moves from left to right, following the arrows.
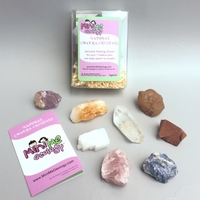
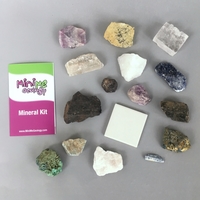
Step 1:� Select a Sedimentary rock - Choose a sedimentary rock that you want and place it on the �Sedimentary Rock to Identify� block.
Step 2:� Determine the Texture � Once you have chosen your rock, take a look at the texture.� The texture is the appearance of the crystals.� You will see that either the rock is:
-
No Crystals where the rock does not have any crystals.� These rocks are either:
������������� Organic where the rock is made from plants and not minerals
������������� Shelly where the rock is made of mostly shell pieces
- Fine-Grained where you can not see each individual crystal (very tiny crystals)
- Medium-Grained where you can see the individual grains (medium size crystals)
- Coarse-Grained where you can very easily see the individual grains (large size crystals)
Step 3:� Determine the Color � The next step is to decide the color of your sedimentary rock.� Some sedimentary rocks can be a variety of colors so choose the color that most closely matches the overall color of your sample.�
Step 4:� Test Special Features � Many of the special features can been seen by looking through your hand magnifier.� Two of the rocks will fizz when you put a drop of vinegar on the surface.� Kids, get an adult to help you with the vinegar.� Sometimes, the special features are needed to identify your sedimentary rock, other times; the special features are simply a fun characteristic to see.�
Follow these steps for each of your sedimentary rock samples until you identify them all. If you need help, grab an adult and give us a call!
CONGRATULATIONS!
YOU DID A GREAT JOB IDENTIFYING YOUR NEW SEDIMENTARY ROCKS.
YOU ARE A TRUE�MINI ME GEOLOGIST!